Last week, I wrote about how I updated my avatar look and copied my shape across grids [1]. I updated my skin, as well, to more closely resemble my actual face without being too creepy.
Here is how I did it.
Step One: Start with a good freebie skin
If you plan to use your skin on multiple grids, it’s good to start out with a base that’s fully in the public domain. That way, you don’t have to worry about accidentally violating license terms.
You can’t go wrong with Linda Kellie. She’s got a nice variety of starting skins, and they’re all available under a CC0 license. That means that you can modify them and use them in any way you want — you can even sell them. It’s all okay with her. You don’t even have to give her credit, which saves on bookkeeping!
So. let’s say you’re Hillary Clinton, and you want an avatar that looks like you. You don’t want it to look exactly like you because you’ll be swimming in the uncanny valley [2]. You don’t want to go there. It’s creepy. You want something that is close enough to your own face to be unique, and recognizable.
So let’s take a vaguely-similar-looking skin and merge it with Hillary’s photo.
I decided to go with the Gabby skin, which I happen to already have a copy of on my computer, since the Linda Kellie site [3] is down today for maintenance.
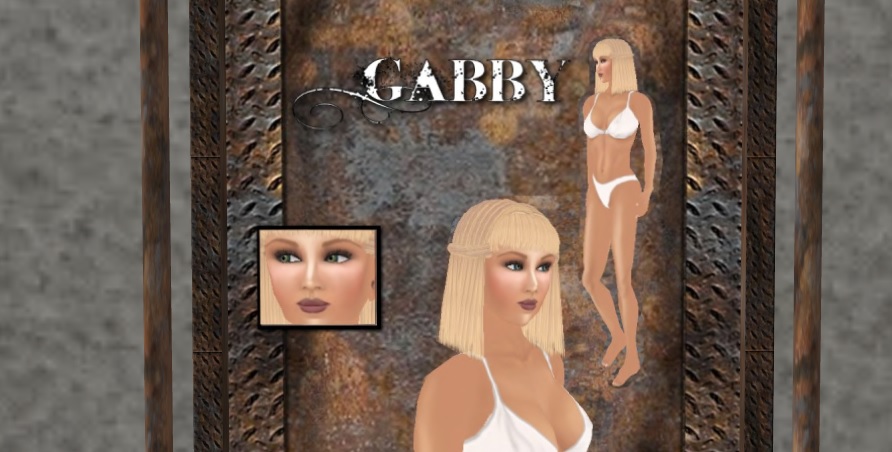 [4]
[4]You can also grab a complete set of skins on the Linda Kellie Freebie Mall, copies of which are on many grids. I just visited the one at Kitely, at grid.kitely.com:8002:Freebie Mall 2.0.
Step Two: Start with a good photo of yourself
You want a photo where you’re looking straight ahead, your hair is out of your face, and the lighting is natural.
For this tutorial, I decided to go with a picture of Hillary Clinton, since the official photo of her as Secretary of State is in the public domain. Unfortunately, the photo shows her smiling — given the choice, use a non-smiling photo of yourself.
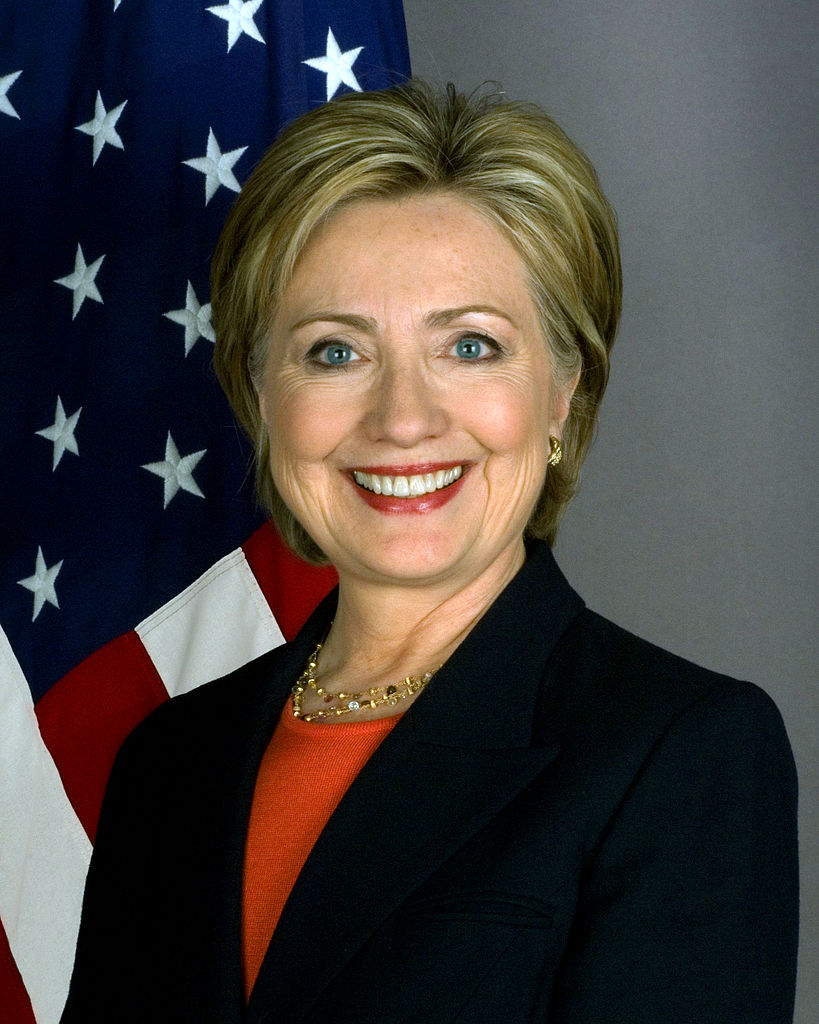 [5]
[5]Make a backup of everything before you start making changes, in case you want to go back and start over from the beginning.
Step Three: Put the headshot in a new layer
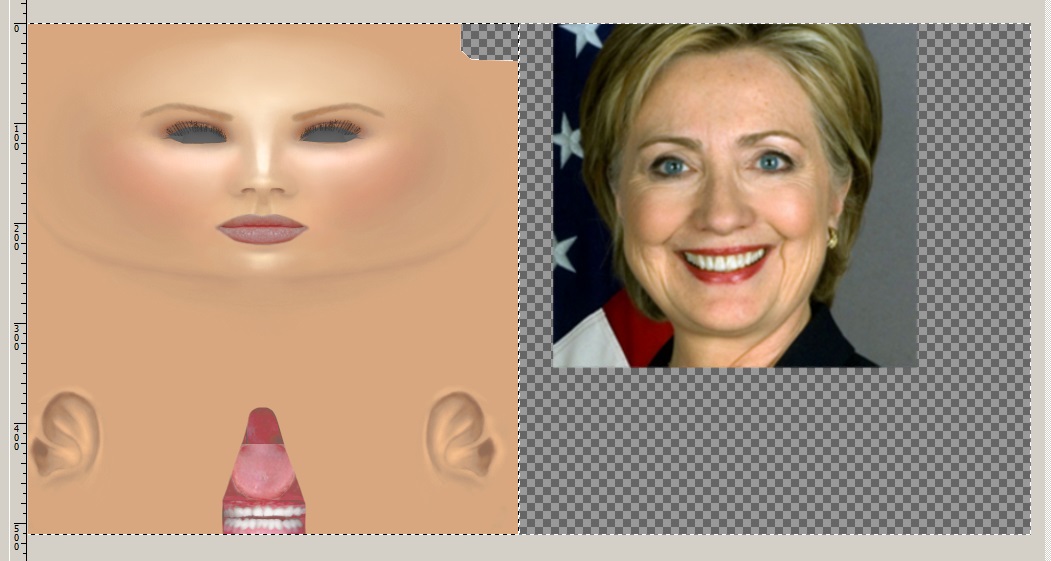
I opened the headshot with GIMP — free download here [6] — and cropped Hillary Clinton’s photo to just around her face.
Then I opened Linda Kellie’s Gabby skin, the face template, and increased the size of the background canvas to 1024 by 512 under Image>Canvas Size and pasted Clinton’s face as a new layer next to the skin.
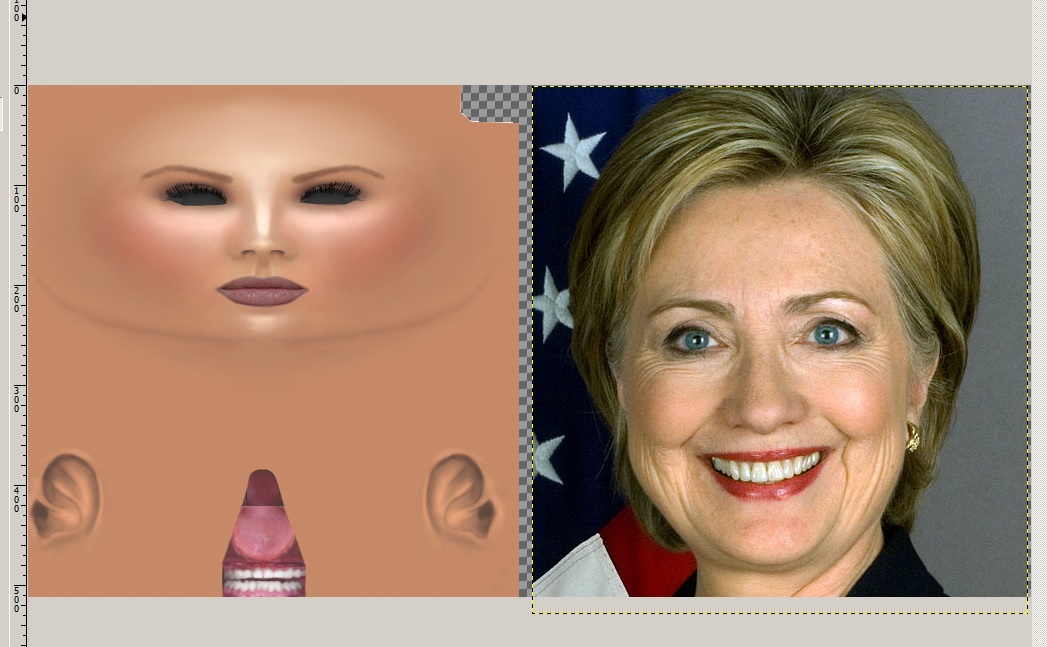 [7]
[7]This is a great opportunity to learn how to work with layers, by the way, if you haven’t learned yet. There are lot of tutorials out there for GIMP layers, if you Google around. Photoshop, has a very similar approach, if you use that, instead.
I moved the Clinton headshot over the skin template to check the size, then adjusted the scaling of the headshot until the eyes, nose, and mouth more-or-less lined up. To check for alignment, I would lower the opacity of the top layer, then raise it again.
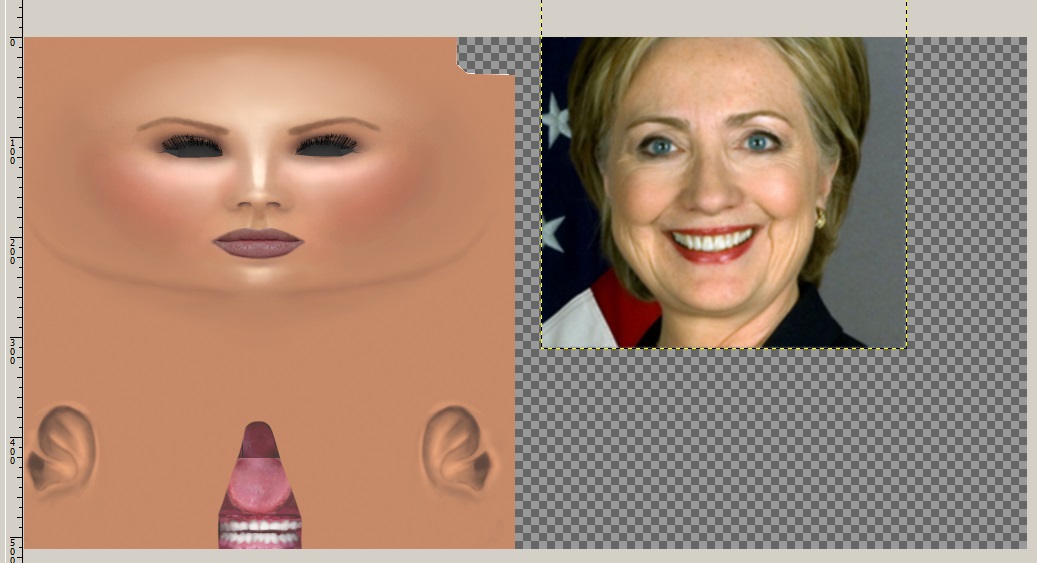 [8]
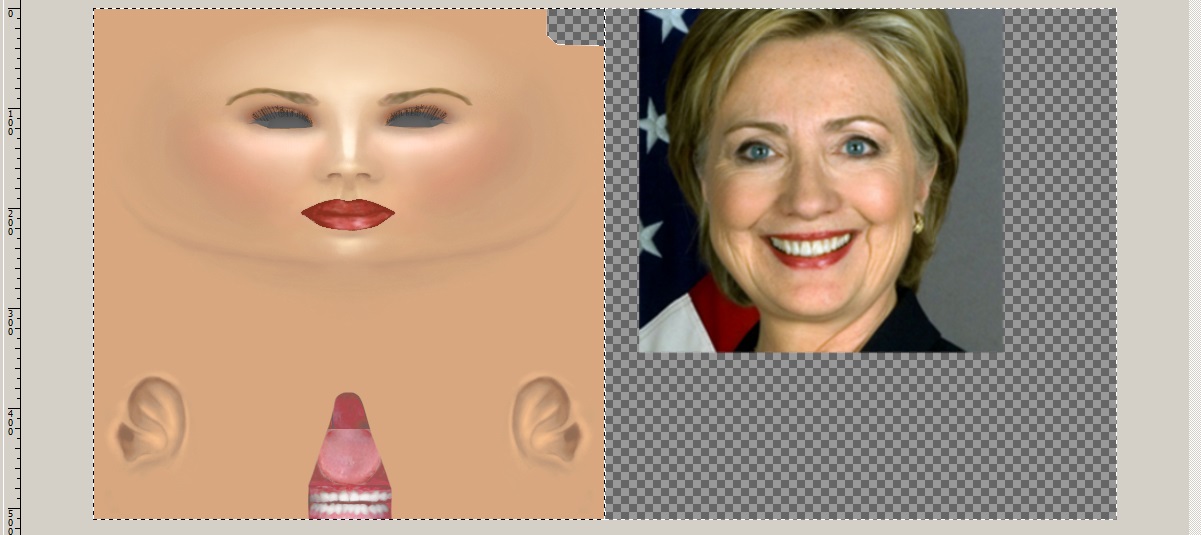
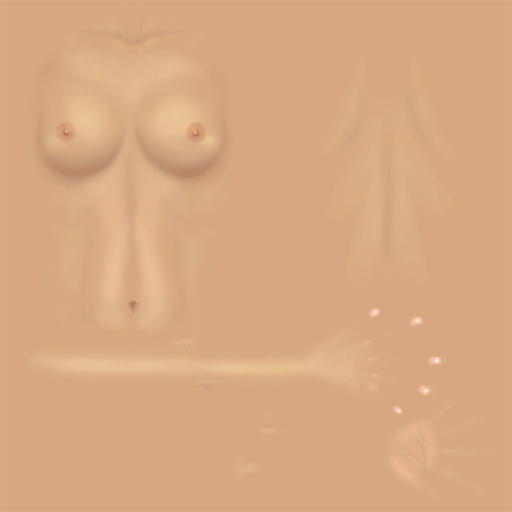
[8]Step Four: Adjust the skin tone
The Linda Kellie skin was a bit pinker than Clinton’s, so I needed to change the tint.
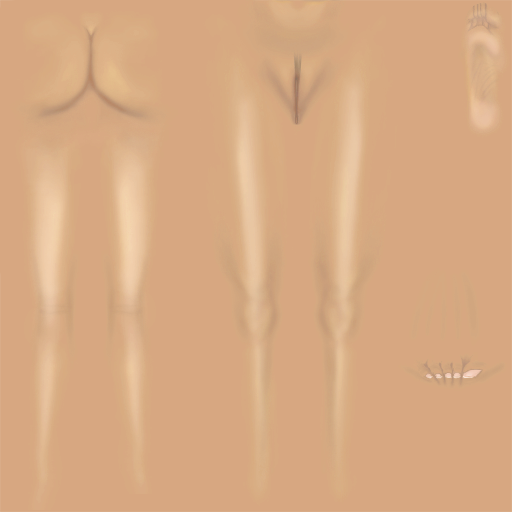
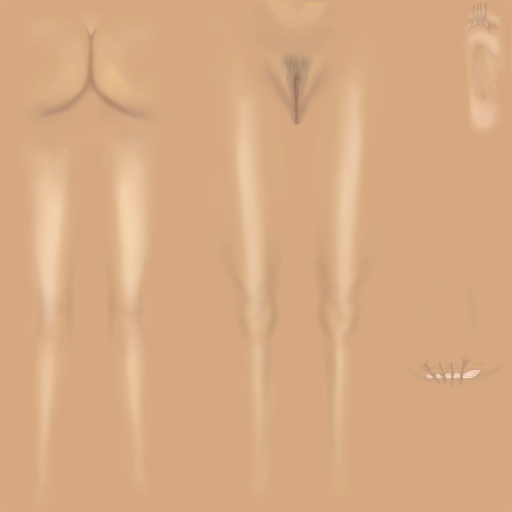
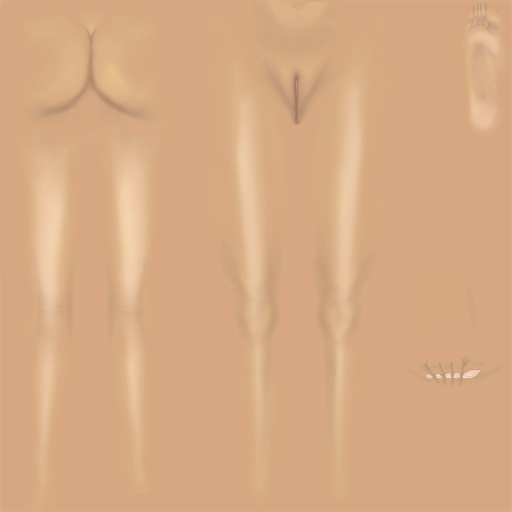
Before you do this, open up the other files that make up the Linda Kellie skin — the top half and the bottom half of the body. Whatever you do to change the skin tone on the face you should also do to the other image files, so that they match. I’m not going to show those images here because they’re nekkid.
To change the skin tone, I selected the skin layer in the layer dialog, then went to Colors>Hue-Saturation and moved the “Lightness” and “Hue” and “Saturation” sliders around until it was a good match. Write down the values, and repeat the same process for the top and bottom body skins.
To make matching the tones easier, I selected the left half of Clinton’s face and deleted it, then dragged her photo over the skin while I played around with the sliders. Then after I copied down the numbers, I undid the deletion, then redid the skin tone change.
 [9]
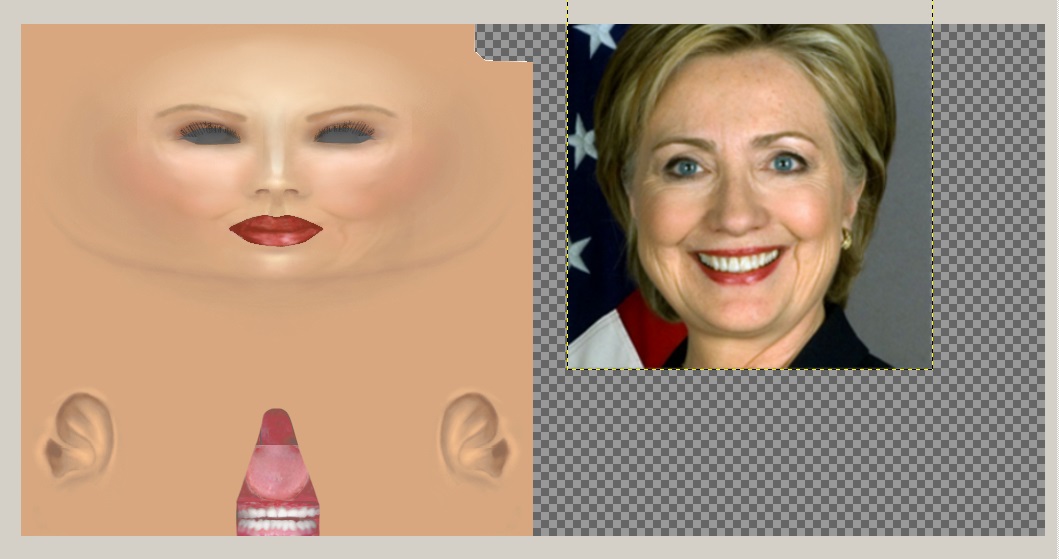
[9]Step Five: Match the lips and eyebrows
For the lips, all I really need to do is match the color. The thickness of the lips will be handled when I edit the shape, later.
This is where the Clone tool [10] comes in.
Go to Tools>Paint Tools>Clone to get the clone brush, adjust the size of the brush so it’s about half as big as a lip — in my case, about five pixels — select the Clinton headshot layer then Ctrl-click on Clinton’s lips to get the color you want, and then select the skin layer and regular click on the skin’s lips to put the color there. To give myself some wiggle room, I set the opacity of the clone brush to 50 percent, and a hardness of 025, for a nice blending.
It took a few tries.
For the eyebrows, I just selected each one, copied it, pasted it as a new layer, then stretched it to fit over the skin’s eyebrows. When I did that, it turned out that the eyebrows didn’t match — and it was very visible on the avatar skin. So I just took her right eyebrow, copied it, and flipped it horizontally. Done and done.
 [11]
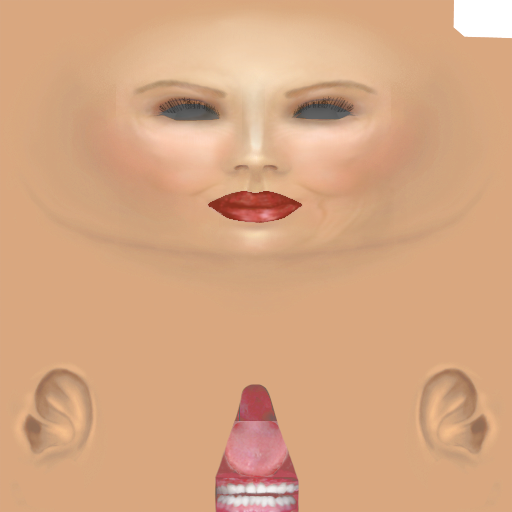
[11]Step Six: Match the wrinkles
This part is difficult, because Hillary is smiling in the photo. So there’s more action going on than there would be if her face was in a more relaxed state.
I used the oval select tool to select her face around her eyes, pasted it over the skin, then stretched it out sideways until the eyes matched. Then I deleted the eyes and the eyebrows and any sharp edges, leaving just the wrinkles, and changed the Opacity to 50 percent. Then I duplicated the layer, flipped it horizontally, and moved it in place to the other side of the face. Then I did the same for the wrinkles around her mouth. It took a few tries to get things stretched correctly — and, invariably, I had the wrong layer selected!
 [12]
[12]Now let’s see what it will look like on an actual avatar!
Step Six: Crop, export, and upload
So, time to crop it back to regular size — Image>Canvas Size — back to 512 by 512.
And export it as a PNG file or a TGA file — whatever your preferred format is. I’ll save to both, just in case.
Step Seven: Edit the shape
For the shape, I looked up and used Hillary Clinton’s actual height, and estimated the rest based on her photos.
I used a basic Linda Kellie outfit as the base for her clothes, and modified a Linda Kellie hairstyle for the hair.
Here’s the final result:
You wouldn’t necessarily look at this avatar and say, “Hey, that’s Hillary Clinton!” Though as I was putting the finishing touches on it, it would occasionally have a facial expression that was eerily like hers.
Someone who’s more creative and artistic would also probably do a better job with the face, as opposed to my cut-and-paste approach.
On the other hand, my way allows someone with zero artistic skill — and that’s definitely me — to create something completely unique and reasonably evocative of the original person. And that’s success in my book. 🙂
Get the files
If you want a copy of this avatar, download your choice of the following files: Clinton-skin-face.png [14] •  Clinton-skin upper.png [15] • Clinton-skin lower 1.png [16] • Clinton-skin lower 2.png [17] • Clinton-skin lower 3.png [18]. Or get the whole Hillary Clinton Avatar [19], including shape and clothes, on the Kitely Market.