Over the weekend and the previous week I must have looked at hundreds of grid websites for the February stats and grid news report.
And I’m seeing a lot of grids — a whole lot of grids — that haven’t put any effort at all into their websites. This isn’t an issue for school or personal grids, of course, since they’re not out to attract the public. But any grid that’s looking for visitors or customers needs to have a solid Web presence.
I’m not going to point any fingers here, you know who you are.
So the following is a five-step grid website plan that will allow you to use your existing Wifi interface, or other generic front end, for your user registration and other back end functionality, but still have a nice welcome page.
1. Get a domain
This costs around $10 a year. There is no reason for anyone to be using a DynDNS or Blogspot or other free domain name. It looks cheap, and it’s hard to remember and hard to find.
2. Get website hosting
Sure, you can use a free Blogspot account as your grid’s front end, but professional web hosting will give you a lot more control and functionality, for about $100 a year, more or less.
I personally use Dreamhost and although I’ve had the occasional problem with server outages, that’s going to be true for any hosting service. And I have no fault at all with Dreamhost support and they have the single most usable interface, bar none. Plus, they now have a deal where you get a year of hosting for just $20, with a free domain name thrown in for the life of the account.
3. Install WordPress
Every hosting company handles this differently, but since WordPress is the single most popular content management platform out there — it has around 60 percent of the market — pretty much everyone puts the WordPress options front and center. Dreamhost, for example, has a “one-click install” that takes care of setting up everything for you, filling in everything with recommended settings, and then just emails you your login instructions for your administration panel.

In Dreamhost, you can get to the install by finding “Goodies” in your left-hand navigation pane, and clicking on “One-Click Installs” then choose WordPress from the gallery.
Then click on “Custom Installation,” select your domain, and enter a sub-domain if you’d like your site there, or leave it blank otherwise. Then click “Install it for me now!” That’s it.
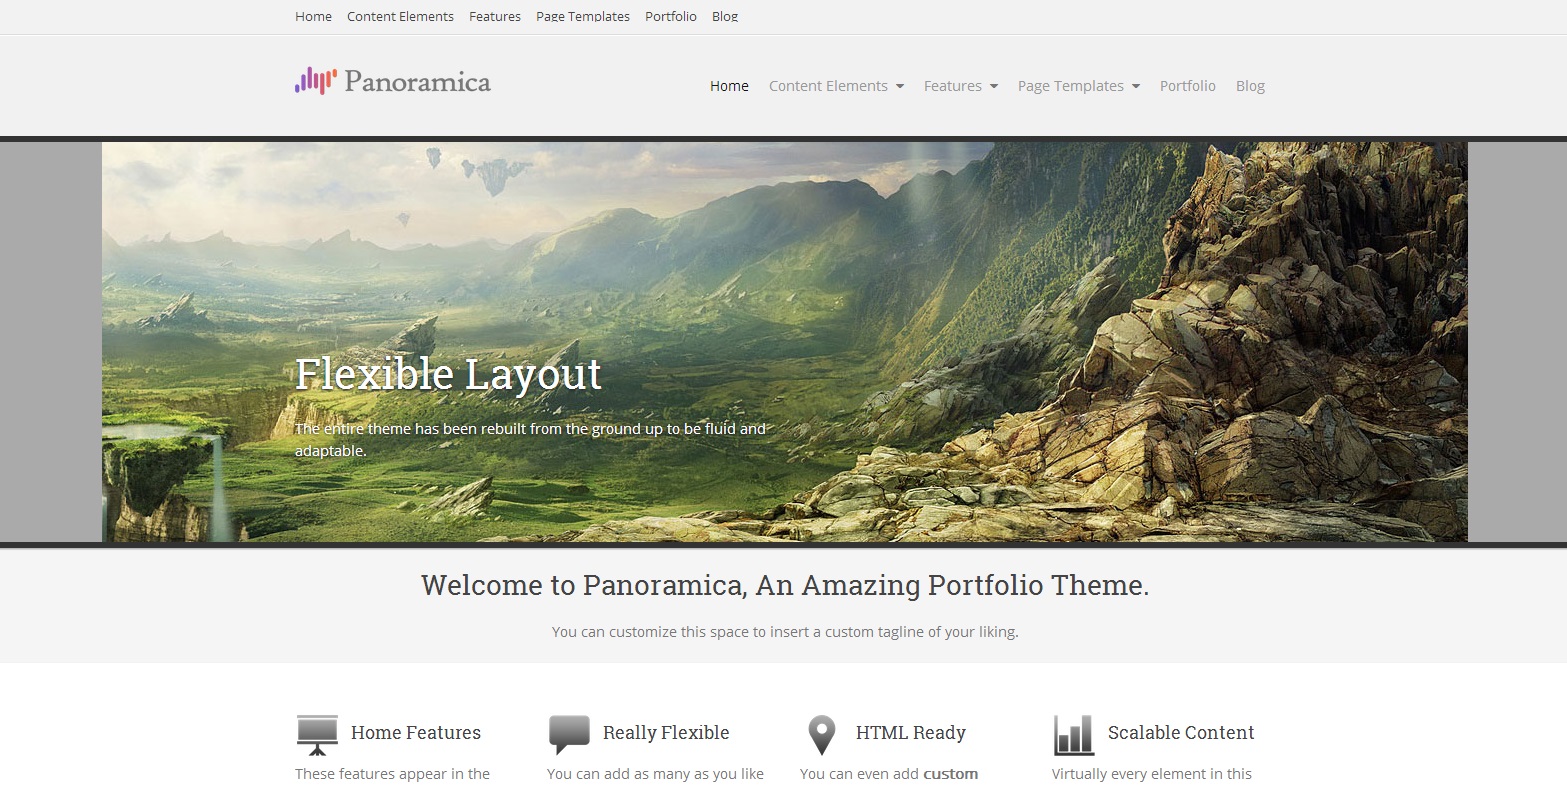
4. Pick a template
I’ve done an article featuring some WordPress templates that I like for grid websites. The easiest way to install a new template is to log into your WordPress administration account, look at the left-side navigation pane for “Appearance” and click on “Themes.” You can then choose from the default themes that come with WordPress, or search through the entire WordPress theme catalog — which is thousands of themes.
Search by name, if you know what theme you want, or by keyword. I suggest trying “responsive,” “business,” and “magazine” as keywords for a grid-friendly theme.
5. Add basic content
Try to get pictures with people having fun for the home page.
Create an “About Us” page.
Then put a link to your Wifi or other interface page under a “Join Now” button or text link somewhere prominent on your home page. I recommend putting it in a widget in a sidebar, so you can change it later. Go to “Appearance” and click on “Widgets” and add a text box to your sidebar — most themes are widgetized these days, so you should see that as an option.
Then just add the HTML code for your link. For example, you could type in: <a href=”http://123.45.67.890:9000/wifi/”>JOIN US!</a>Â — except replacing the URL inside the quotation marks with whatever the ugly address is of your Wifi page.
At the bottom of the themes article I have a longer website checklist, but much of the other stuff, like a TOS, can be added later. You should also check out your theme’s customization options, usually under “Appearance” – “Customize.” You should be able to change the header image or text, or change the color scheme.
Another thing you can add later is event announcements. The easiest way to do is just to add them as new posts. If the grid gets busy, you can install a calendar plugin — WordPress has several.

- International singers gather on Alternate Metaverse Grid for first annual International Day - April 15, 2024
- OpenSim hits new land, user highs - April 15, 2024
- Wolf Territories rolls out speech-to-text to help the hearing impaired - April 15, 2024