After learning how to make seamless textures yesterday, I became a bit obsessed with it, taking pictures all over the place and trying to turn them into textures.
And I discovered that that turning bricks and boards — anything with a large, regular pattern — into a seamless texture is a lot harder than it looks.
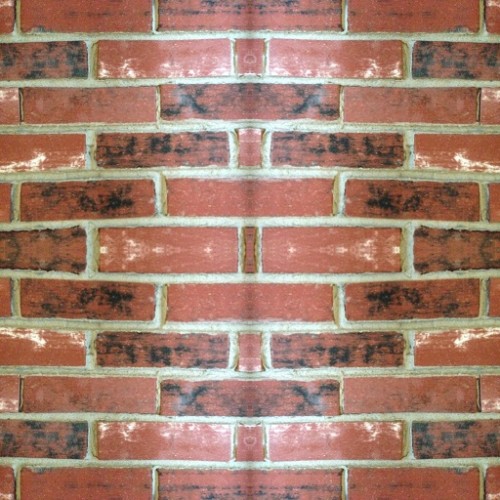
At first, I tried the quick-and-dirty approach, using Paint: select and copy the texture, use properties to double the width of the images, flip the image horizontally, then paste in the original texture. Now select everything and copy it again, double the height of the image, flip it vertically, and paste.
The result is a bit of a kaleidoscope effect:

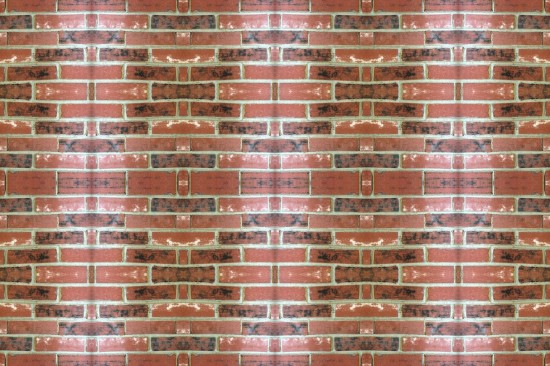
When you put it on a wall, it creates a cool pattern:

In fact, a lot of the textures I had in my inventory have a similar pattern — they were created by mirroring a single tile.
To figure out how to get rid of this pattern, I went back to Google and picked up some new GIMPing skills.
And found that trying to turn original photographs into seamless textures posed three main difficulties:
1. The camera is always off-kilter. You think you’re holding it nice and even, but when you look at the photo on the computer screen, it turns out that none of the vertical lines are vertical, and the horizontal lines aren’t horizontal. It’s not just a matter of rotating the photos into place, either — they also get skewed by perspective, like railroad tracks meeting in the distance. GIMP has tools to fix rotation and perspective, but they take a lot of fiddling. I could never get it to line up right.
2. The pictures are never evenly lit. One side — or one corner — is always brighter or darker than the rest. There are things you can do with layers and overlays to fix this. Or maybe have better lighting when you take the photo.
3. To fix the seams, you can use GIMP’s Layer-Transform-Offset function, offset the image by half its width and half its height, and then smooth out the seam by using cloning brushes, smudge correction and copy-and-paste, or putting layers over each other in various degrees of transparency.
It can take hours to turn a single image into a seamless texture. Okay, the second and third one go faster, but it is still an enormous amount of work.
There is professional software out there that can do it for you, but it costs money. And I’m not sure my texturing phase will last past the end of this weekend.
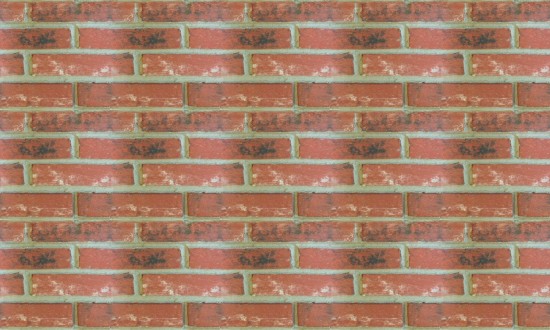
But Google came to my rescue again — there’s a free program out there that does nothing but turn images into seamless photos, and does it very, very, very easily: Texture Studio, a free, open source program.
Creating a seamless texture is a quick, easy process that the program takes you through, in a very intuitive way. The rotation and perspective problem is fixed in the first step, by positioning the four corners of your texture tile where you want them in the photo.
Then it lets you correct the lighting, the contrast, and blur the seams, with a slider at each way point so you can decide how much to do of each.
You can also set the desired size of the final texture, and whether the tiling will be horizontal, vertical, or both.

The only issue I have with it is that it only lets you pick image files that are in the same folder as the program itself, which is a minor quirk but easy enough to deal with.
- OSgrid back online after extended maintenance - April 16, 2025
- Analysts predict drop in headset sales this year - March 25, 2025
- OSgrid enters immediate long-term maintenance - March 5, 2025
