Google Cardboard-compatible viewers are a great choice for people who want to experience VR but don’t want to shell out the hundreds of dollars that the big-name headsets cost. In fact, these viewers can start at just $5, and are pretty good for watching VR videos and playing casual games. Plus, they work on most late-model smartphone, so you don’t need a new computer or lots of wires. Check out our list of 10 best VR viewers under $100 and 10 super-cheap viewers for trying out VR.
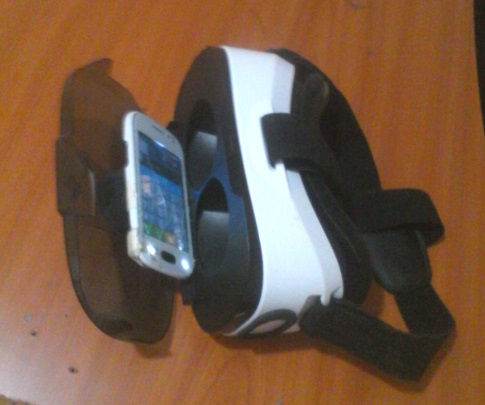
However, one big problem with many of these viewers is that the smartphone has to know what lenses the viewer has, and how they’re positioned. Since the viewers are dumb — they’re just lenses in a plastic or cardboard case — you normally do this by scanning a Google Cardboard QR Code. And many manufacturers don’t provide that QR Code. Maybe they’re lazy, or maybe they want you to just use their app, and not any of the thousands of other VR apps in the app stores.

Whatever the reason, this is a big headache. We have a list of QR Codes here, but we don’t have a QR Code for every single headset out there. Plus, new ones keep popping up all the time.
What to do? You can randomly try other codes to see if they’re close enough. Or you can use Google’s own QR Code generator, though it’s a little tricky.
But now, there’s a new, easier option.
Sites in VR is a virtual tourism app, but it also comes with its own QR Code generator. I tried it out, and found it relatively easy to use and quick to configure my own VR viewer, Play VR.
It wasn’t instant and automatic. It took about ten minutes total, and I had to customize the inner and outer distortion, field of view, chromatic aberration, lens separation distance, screen to lens distance, and the interpupil distance. But once I was done, I had the perfect QR Code for my headset.
Plus, the app already comes with a selection of ready-to-go QR Codes, in case your viewer is  the official Google Cardboard headset, or a Daydream View, SmartVR, Virtual Vizor,  Homido, Homido Mini, Dscvr,VR Fold, Wearality Sky, Vrizzmo Revolt, Mattel View-Master VR, Merge VR, Durovis Dive 5, ColorCross VR, Soyan, Geeach, Gear VR, Cardboard V2, Bobo VR Z4, Ant VR, Baofeng Small Mojing, Baofeng Storm II, VR Box, Leap-HD or Ritech 3D. (And even if your viewer isn’t one of those, sometimes one of the other QR Codes works well enough, anyway.)
How to create your own custom QR Code with the app
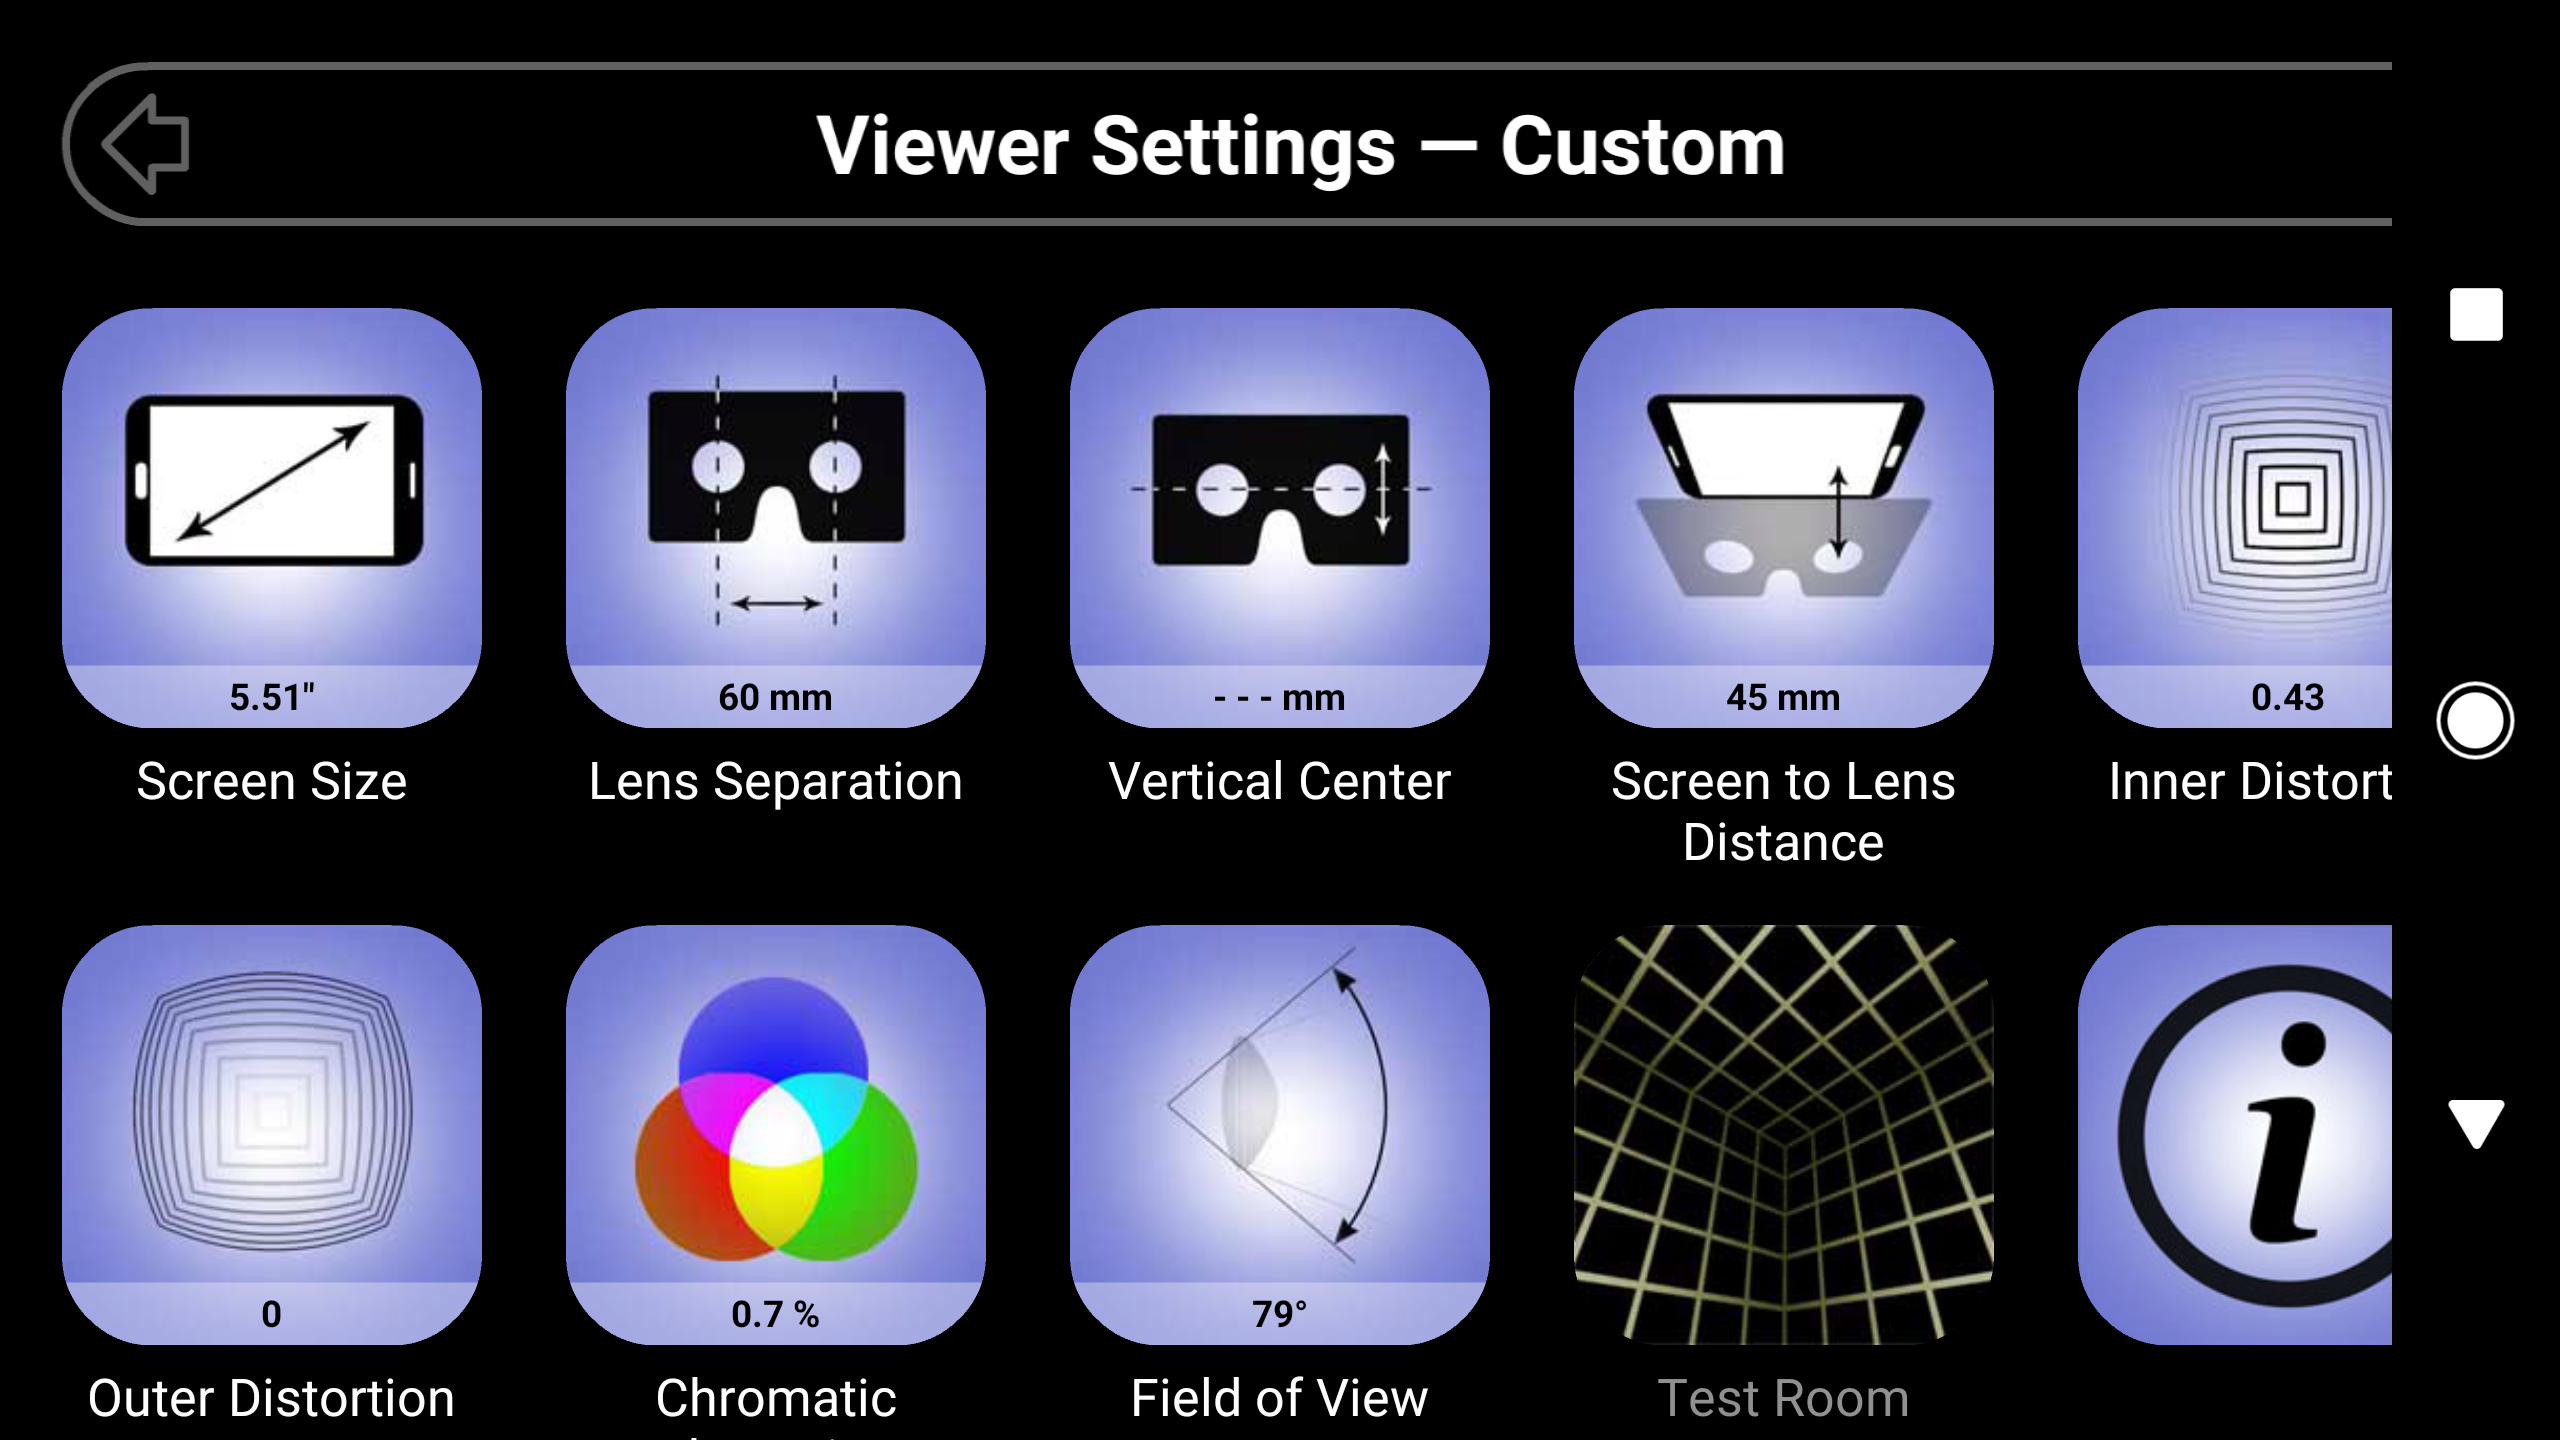
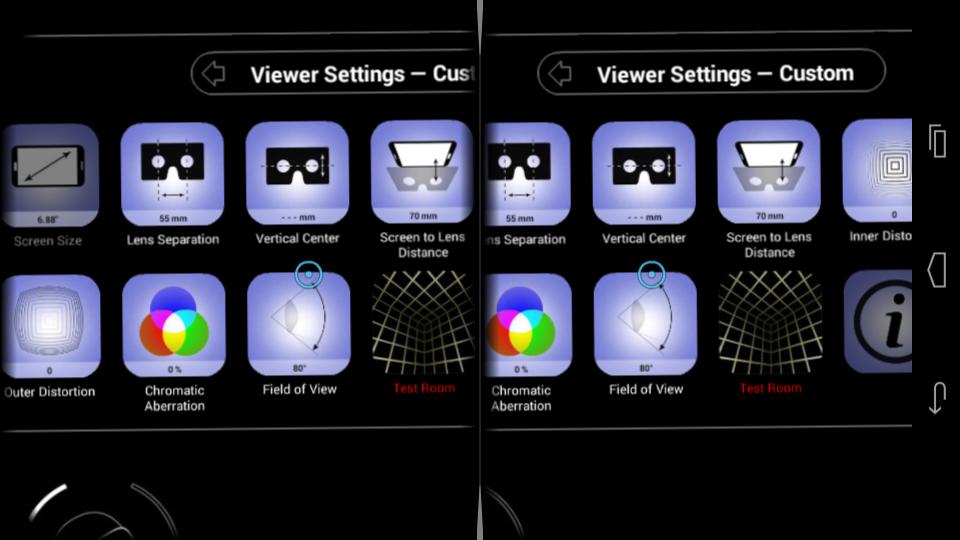
If your viewer isn’t on their list, and you want to create your own QR Code from scratch, start by downloading the app for free on the Apple or Android app store. Then touch the little icon of a viewer, then on the “viewer settings” icon.
Now you should be at a screen that lets you adjust all the techie configuration settings for your customer viewer. That includes the distortion, field of view, lens separation distance and the interpupil distance.
You can also use this to modify the settings for a QR Code that was provided by the manufacturer, but doesn’t look right to you because either the manufacturer made a mistake, or it doesn’t work with your particular smartphone for some reason, or if you have weird eyes.
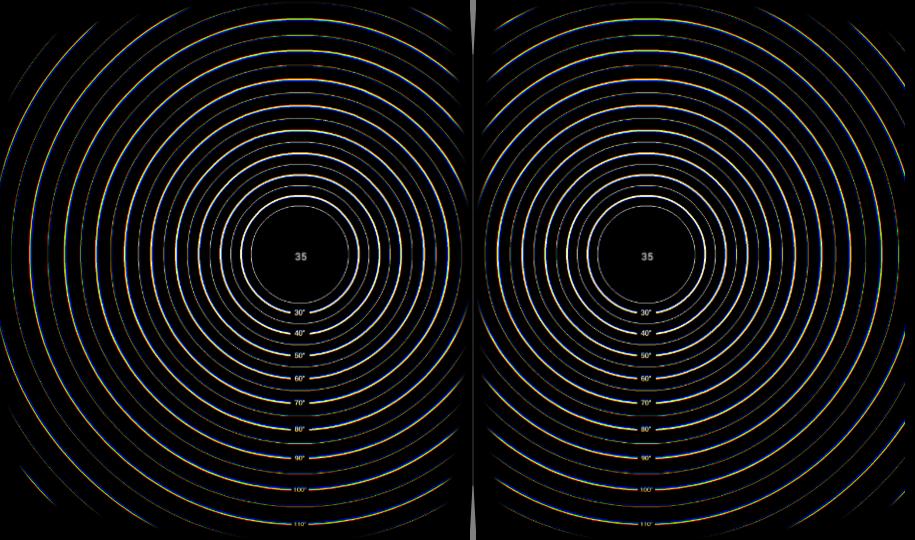
I tried out the process of adjusting for field of view and other features, following the online instructions.
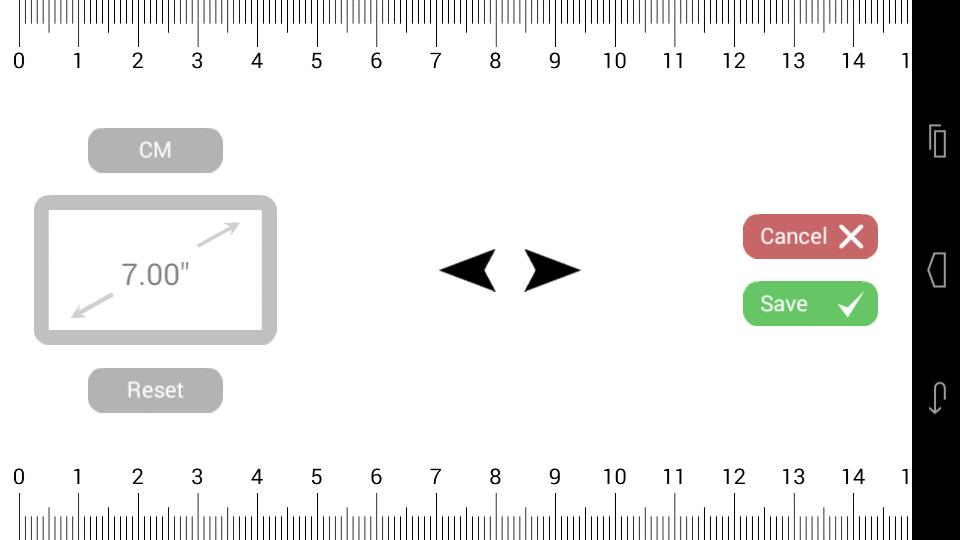
I recommend starting with the ruler setting. This allows you to set the screen size. You will need to go and find an actual ruler for this one.
If you don’t have a ruler, you can set it for your phone’s official screen size, but be warned that the official specs might not be exact, and, as a result, the virtual reality view that you get might be slightly off.
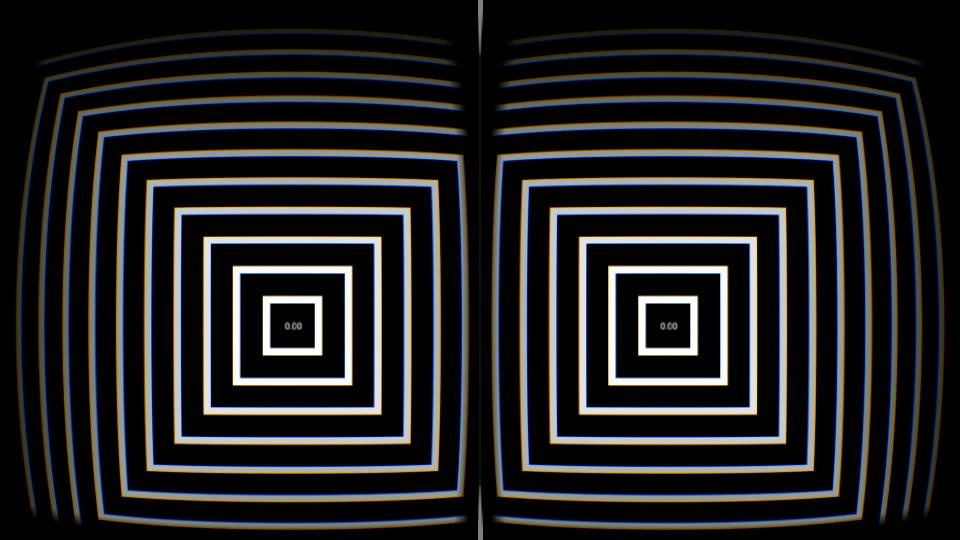
For all the other settings, your phone will switch to a virtual reality view. To calibrate those settings properly, put the phone inside your virtual reality headset, then move your head until the picture looks right.
Then hold your head still for a couple of seconds to save — you will see a little indicator, a circle filling, that will show you that it’s saving.
When at the main settings menu, go to a new setting by looking in the direction of the icon — a little blue circle will appear to help you with the selection — and pause until it activates.
Then you go back to the viewer settings screen, but this time in virtual reality mode, so you can configure the other settings without taking your phone out of the headset.
It seems to switch into that mode automatically — if you need to switch back out to the regular phone view, take the phone out of the viewer, touch the screen, then touch the little cardboard viewer icon at the bottom of the screen.
To go back to the virtual reality mode, just select any calibration setting again.
Now you can work your way through all the other settings.

The lens separation distance is how far your viewer’s lenses are from one another. Again, tilt your head up and down until the picture looks good to you, then pause to save.
Normally, if you were creating a custom viewer code manually with the official Google viewer profile generator tool, you would need an actual ruler or calipers to measure this. So the Sites in VR app is a big time saver here.
All in all, it took me about ten minutes to get through everything and create a working viewer profile.
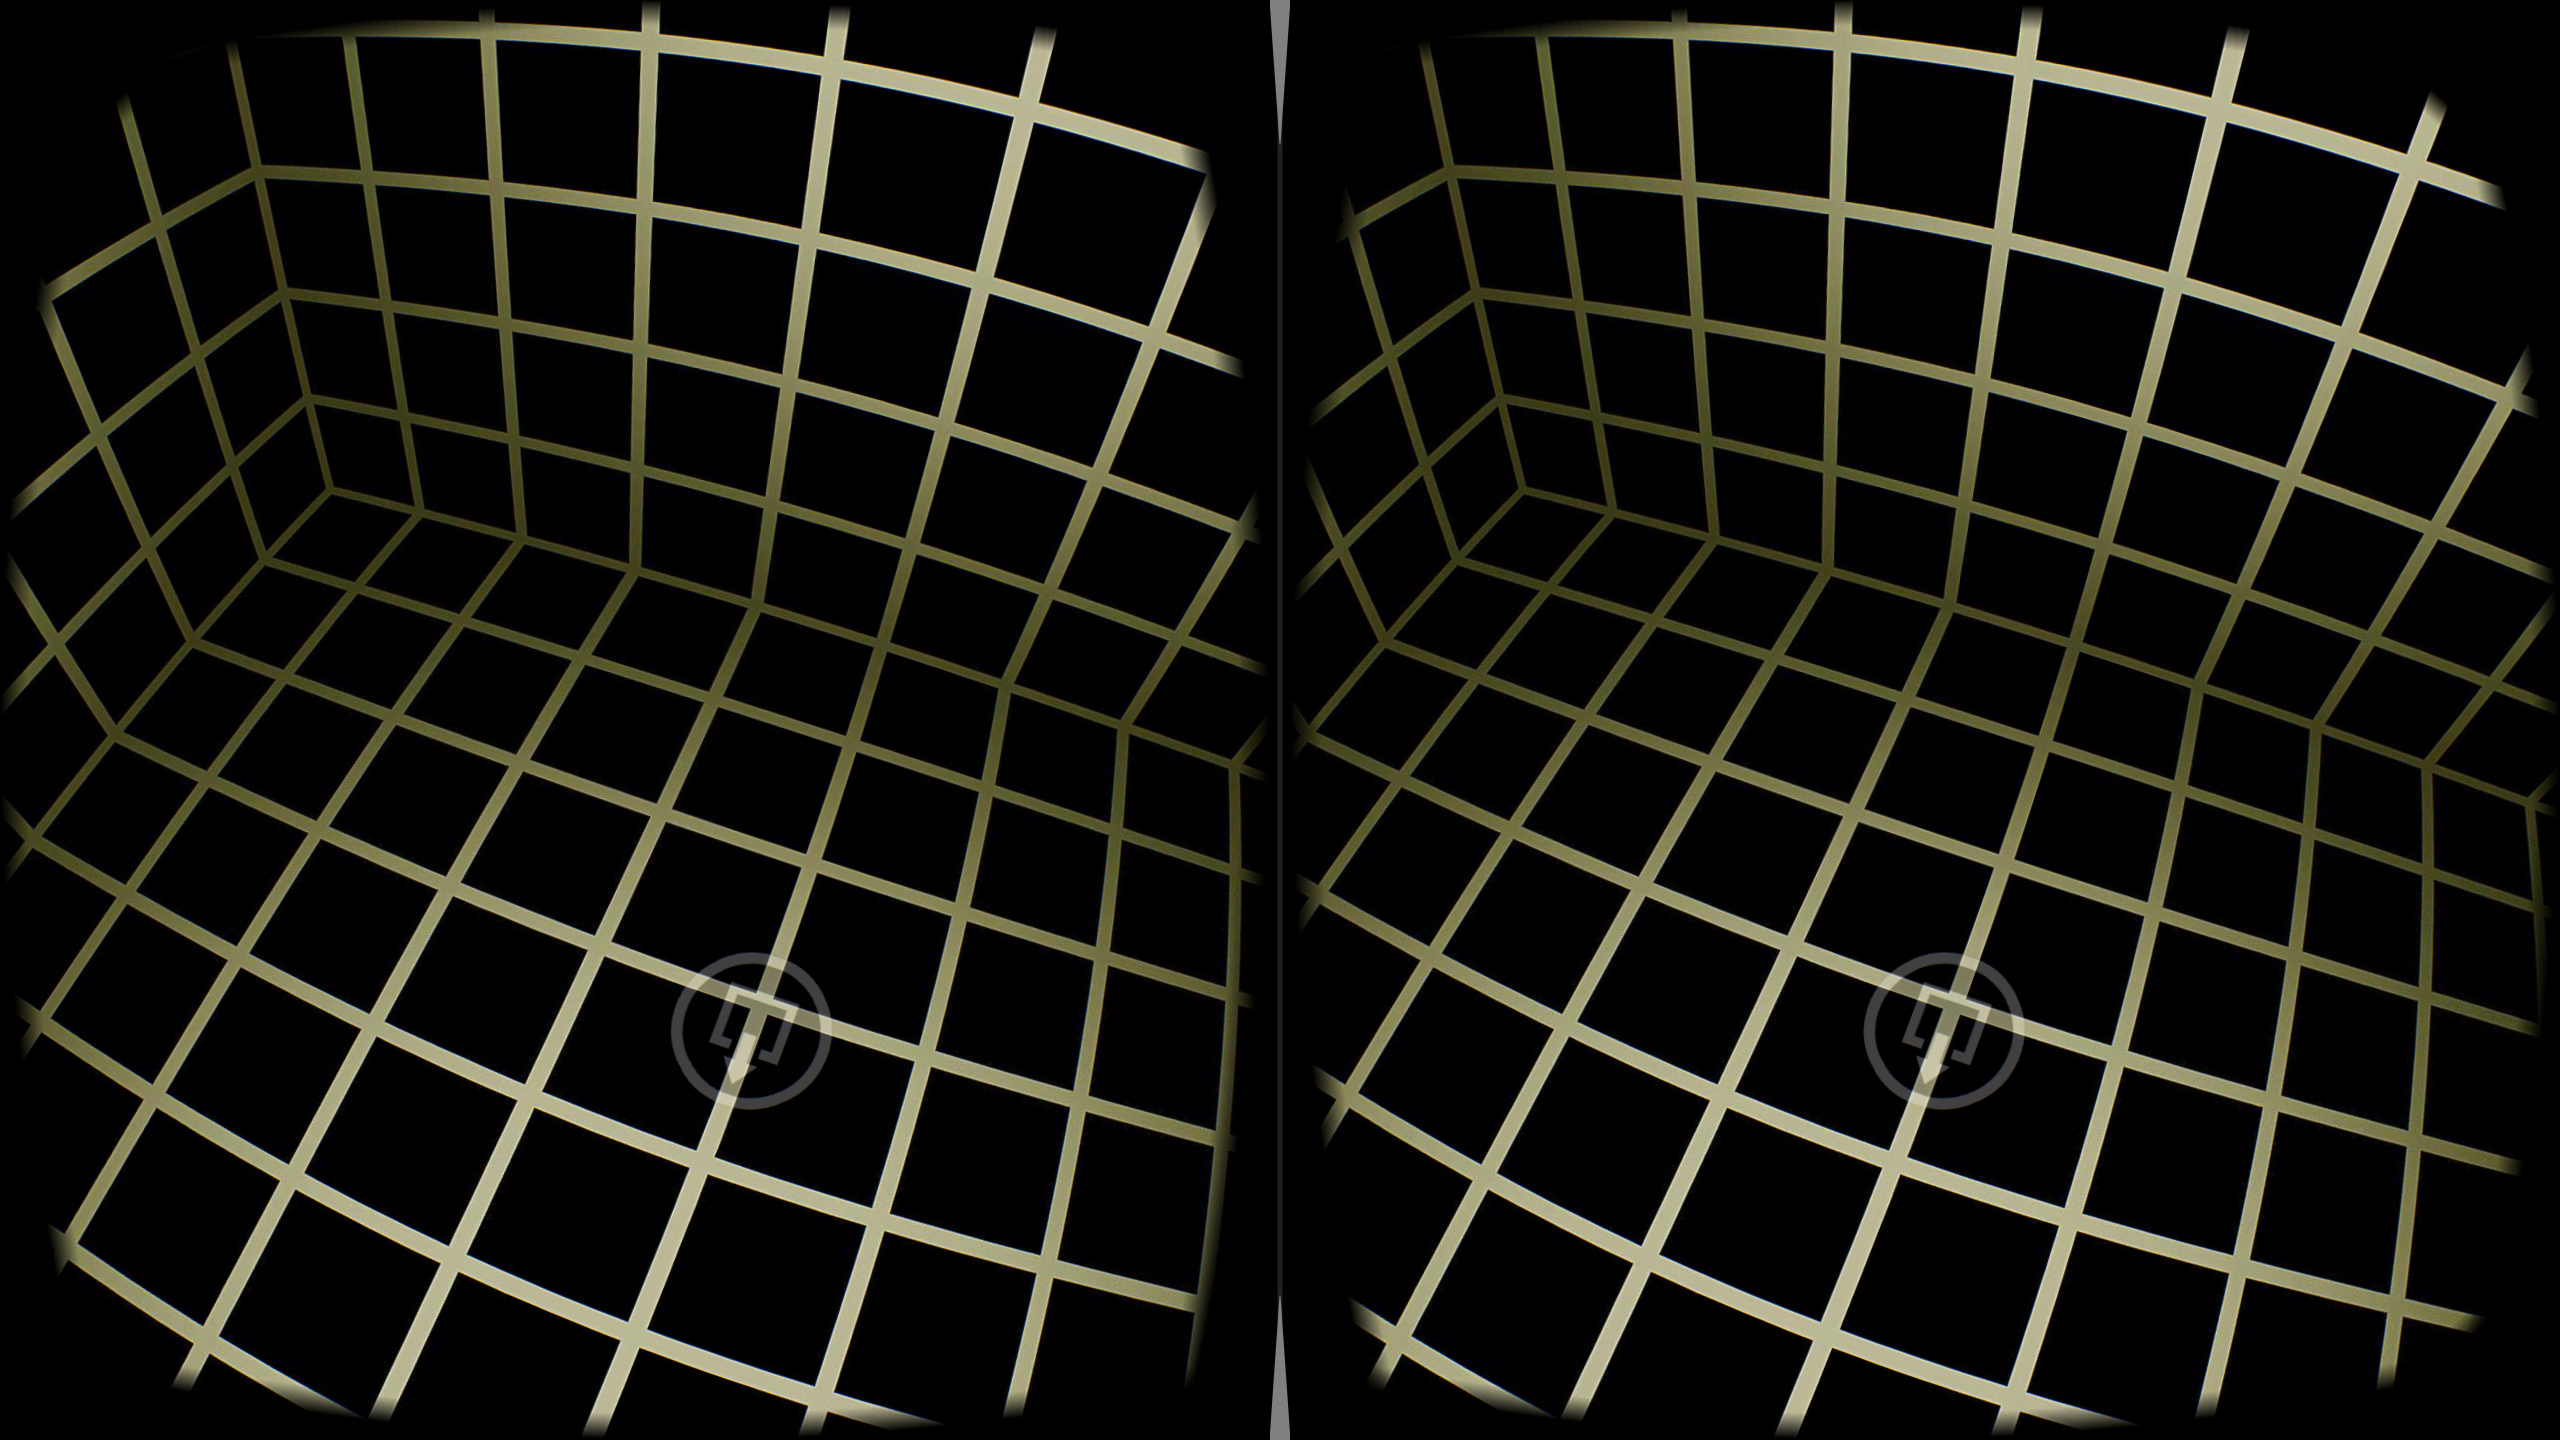
To see whether you’re done, click on the “Test View” button and you can see a little preview of what it all looks together once it’s put together. To go back to your settings selection screen, look for the little gray circle with a square inside of it — that’s the “back” button in this app — and look at it to activate it.
Once you’re all set, you can go try out your new custom viewer settings in another VR app. Once you’ve set up your custom viewer, your phone will remember it until you change it.
You can also check out the rest of Sites in VR app itself, since the main purpose of this app is virtual tourism. The viewer calibration feature is just an added bonus.
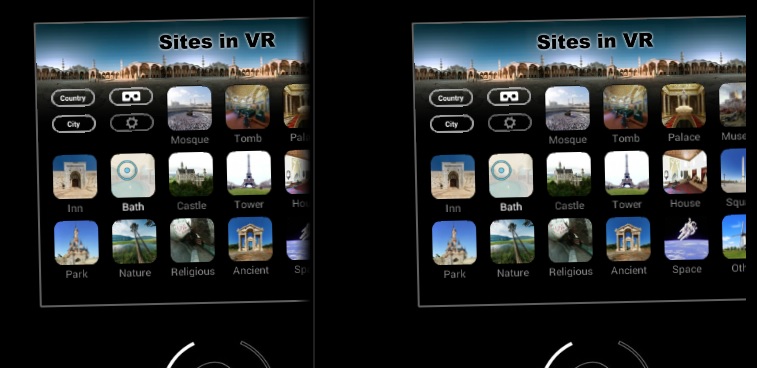
Sites in VR has about 1,700 tourism destinations from around the world, grouped by country, city or type of destination.
- OpenSim active users hit all-time-high for the holidays - December 15, 2023
- OpenSim user activity ramping up for the holidays - November 15, 2023
- OpenSim land area at a new high as grids prep for holidays - October 15, 2023